Get Started
Creating and Setting Up Your Account
In this article, you’ll learn:
How to create an AskDolphin account
What is a trial period
How to login to your account
Let’s get started and make your setup process as simple as possible!
Creating AskDolphin account
Step 1: Start the Sign-Up Process
To begin, visit www.askdolphin.com and click the Get Started button prominently displayed on the homepage.
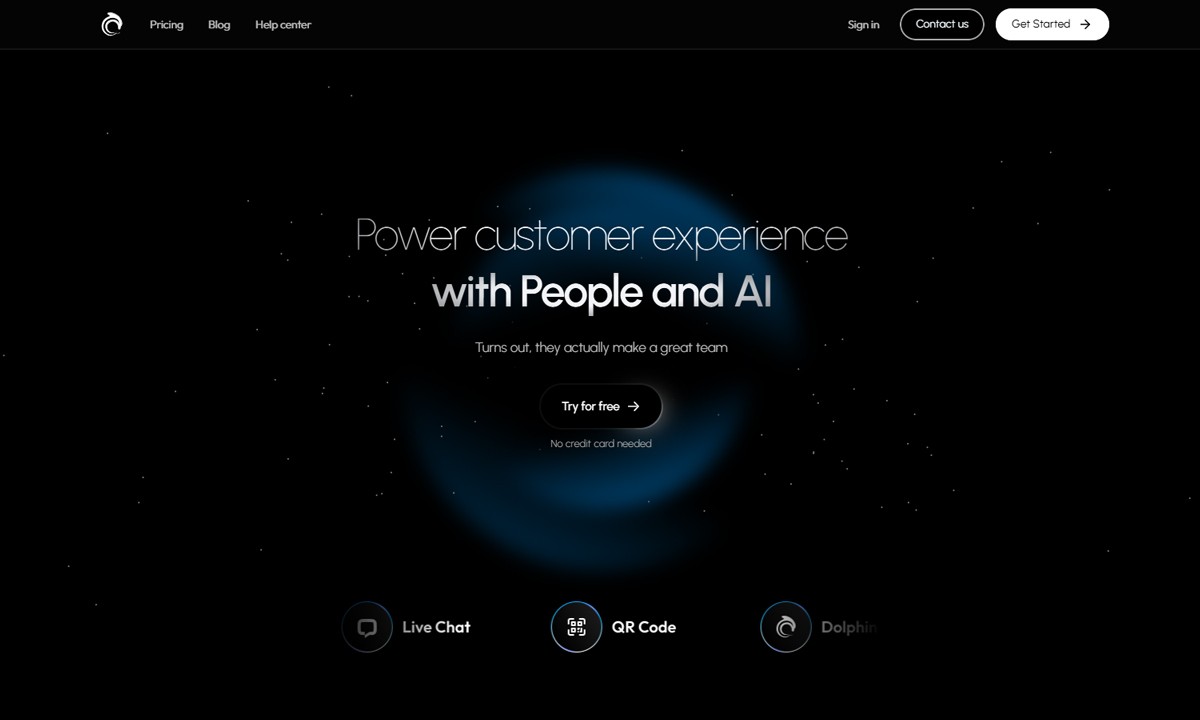
This button will redirect you to the registration page, where you can start creating your AskDolphin owner account. As the owner, this account will grant you complete access to the platform's features and customization options.
Step 2: Enter Your Email and Password
On the registration page, you’ll see fields to enter your email address and create a secure password.
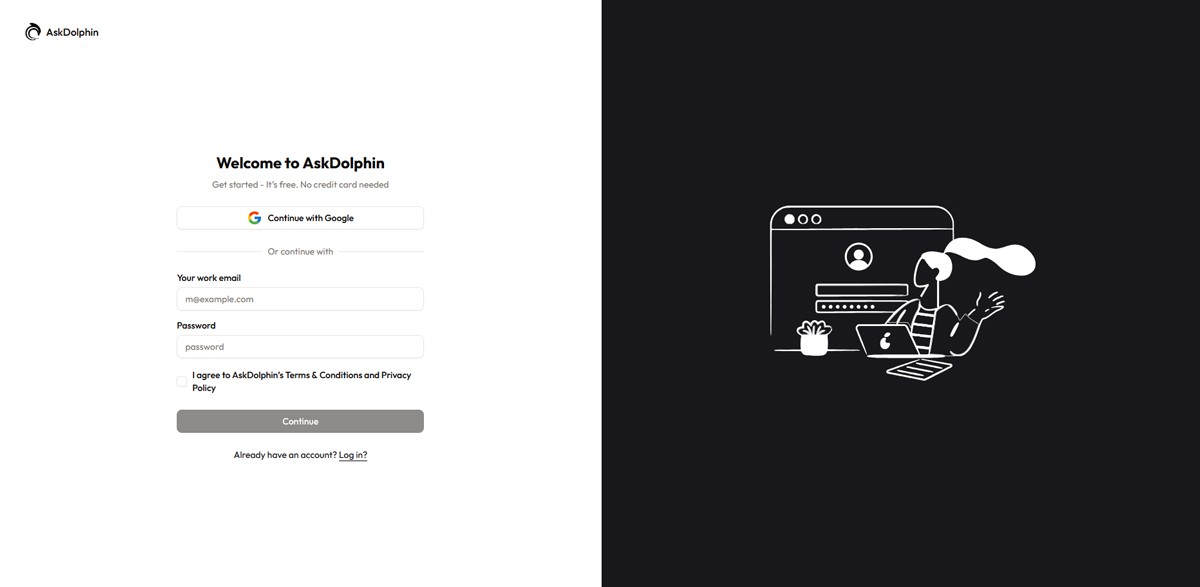
Ensure your password is strong, combining letters, numbers, and special characters for added security. For quicker setup, you can also sign up using your Google account by selecting the "Sign up with Google" option. After filling out the required details, click “Continue” to proceed.
Step 3: Verify Your Email Address
To ensure your account's security, AskDolphin will send a verification code to the email address you provided.
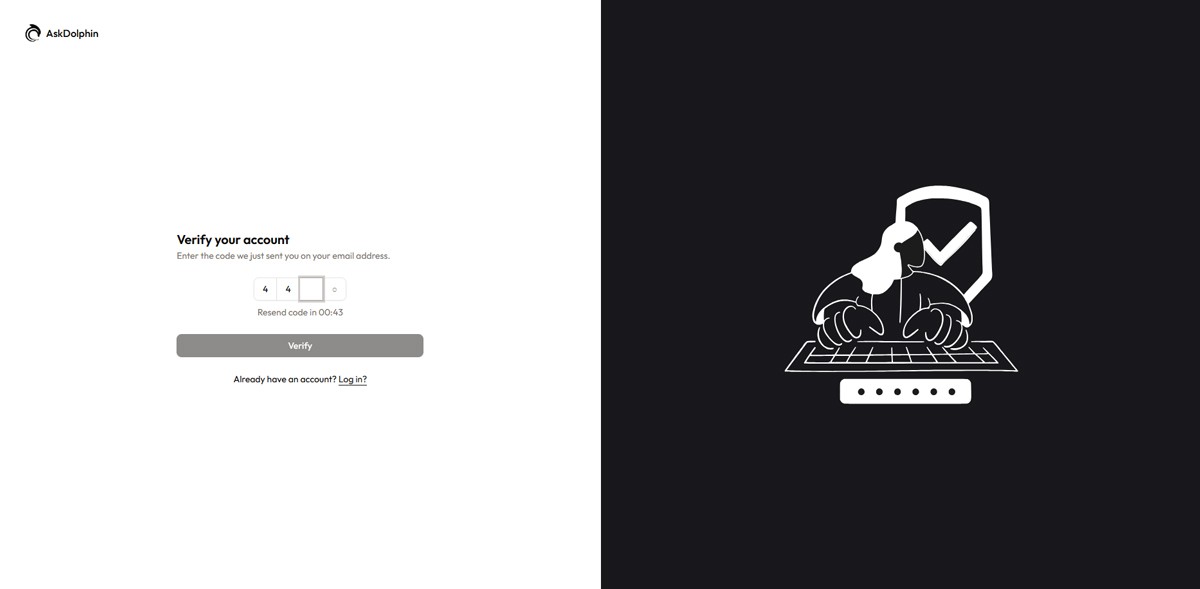
Open your email inbox and look for an email with the subject line “Verify Your AskDolphin Account.” Enter the 4-digit code in the verification field on the platform. If you don’t receive the code within a few minutes, check your spam folder or click “Request a new code” to generate another one. Once verified, click “Verify” to proceed to the next step.
Step 4: Provide Basic Business Details
After verifying your email, you’ll be asked to share some basic information about your business.
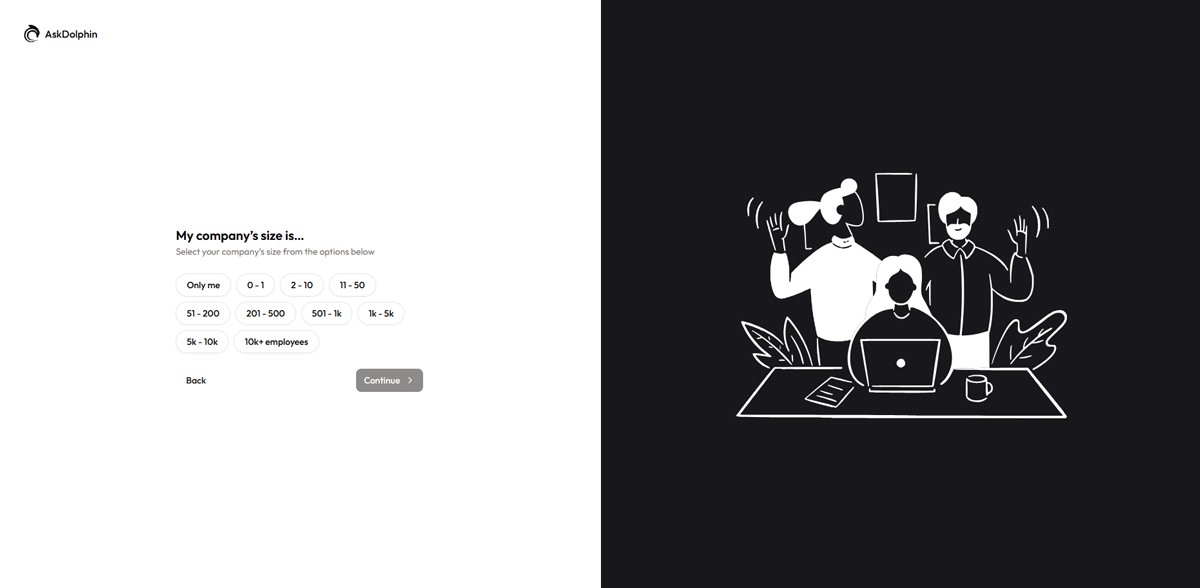
This helps AskDolphin personalize your experience, from setup guidance to smart AI recommendations, based on your company’s profile and customer service needs. Once you’ve entered the required details, click Continue to move forward.
Step 5: Add Business Information
After sharing your basic details, you’ll be prompted to enter key information about your business, such as your company name, work email, and website.
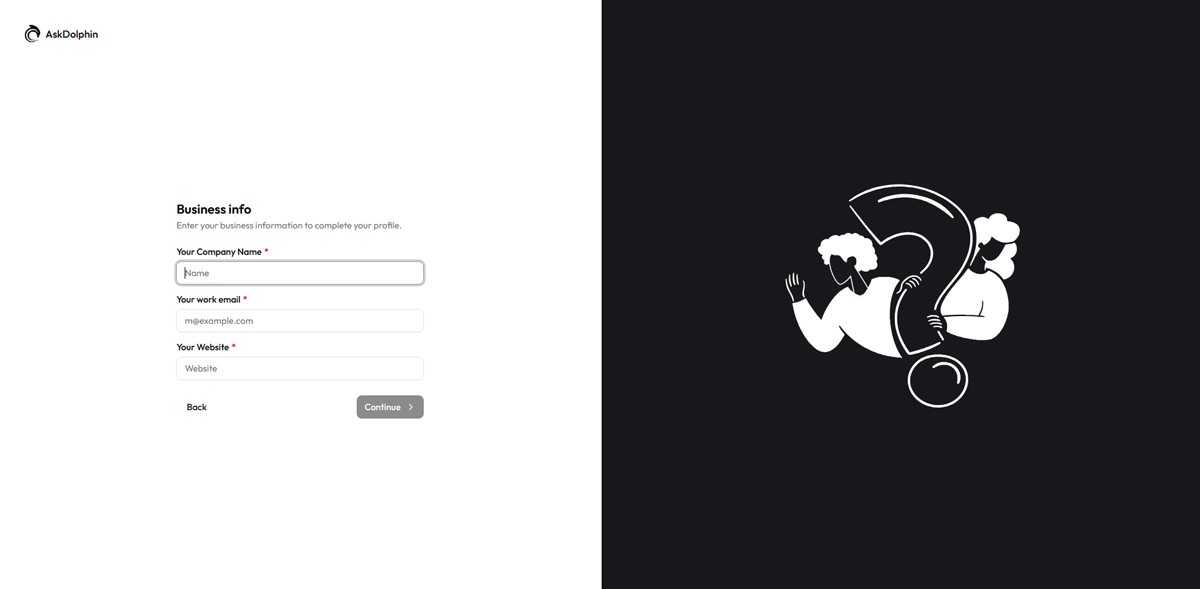
This helps AskDolphin personalize your setup and ensure your brand appears correctly in customer-facing areas like your chat widget and dashboard. Once the fields are filled out, click Continue to move forward.
Step 6: Complete Your Personal Information
In this step, you’ll provide your personal details such as your full name, phone number, and business address.
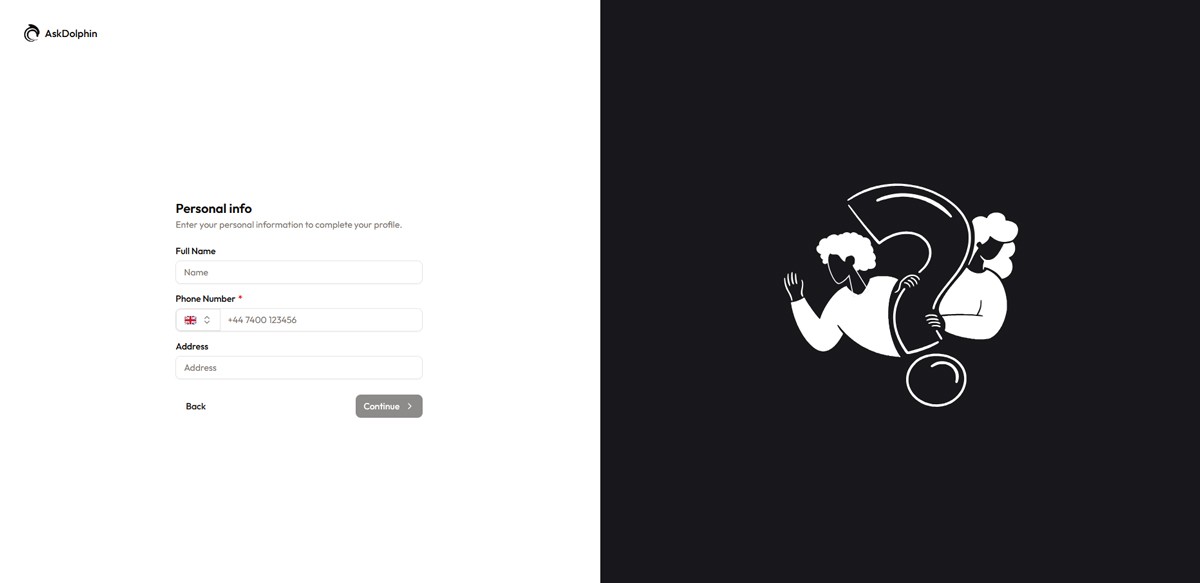
This information helps personalize your AskDolphin account and ensures smooth communication with our support team if needed. Once you’ve entered your details, click Continue to proceed to the next step.
Step 7: Upload Your Business Logo
Add your company logo to personalize your AskDolphin account and maintain consistent branding across your chat widget and customer-facing interfaces.
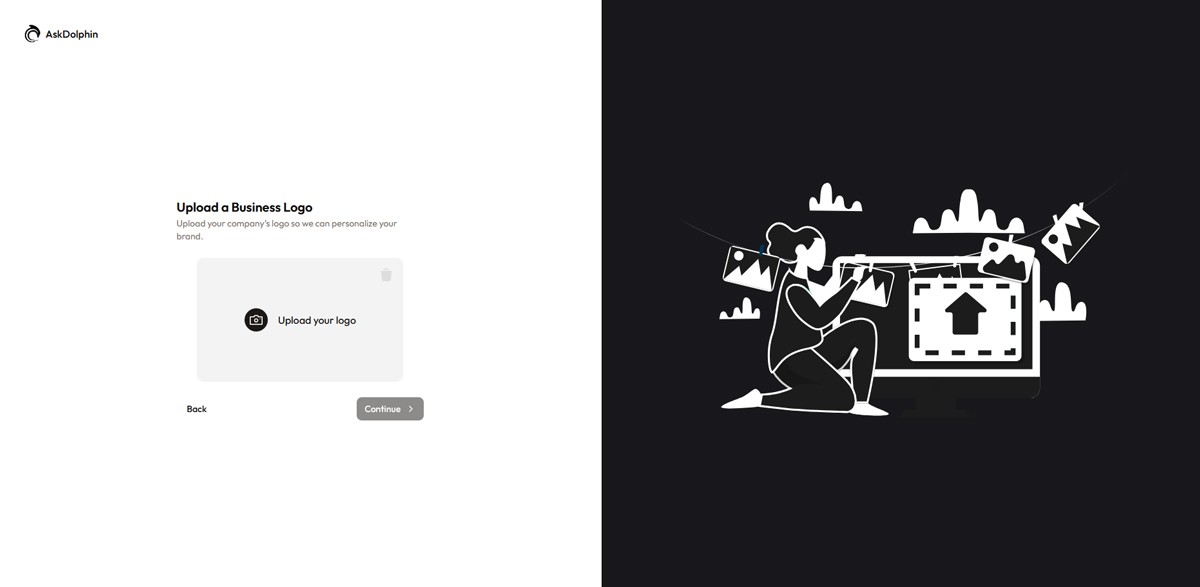
This helps customers easily recognize your business when interacting through AskDolphin. Once your logo is uploaded, click Continue to proceed.
These details are important for customizing your account and ensuring smooth communication with AskDolphin’s support team if needed. Once all the fields are filled out, click “Get Started” to finalize your account creation.
Congratulations! You’re now ready to explore AskDolphin and set up your customer service platform.
Important Notes:
Owner-Exclusive Account: This process is intended for the owner of the company only. The owner account will have full control over settings, team management, and business customization.
Adding Admins and Agents: Once the owner’s account is created, additional team members like Admins and Agents can be added through the dashboard under the Team Management section.
Explore AskDolphin with a Free Trial
Upon signing up, you'll unlock a 14-day free trial with access to all features of AskDolphin. This trial gives you the opportunity to explore how AskDolphin can enhance your customer service and streamline your operations.
Once the trial ends, you can continue using the Basic plan for free or upgrade to a paid package that suits your business needs. Visit our Pricing Page to learn more about our plans and find the best option for your business.
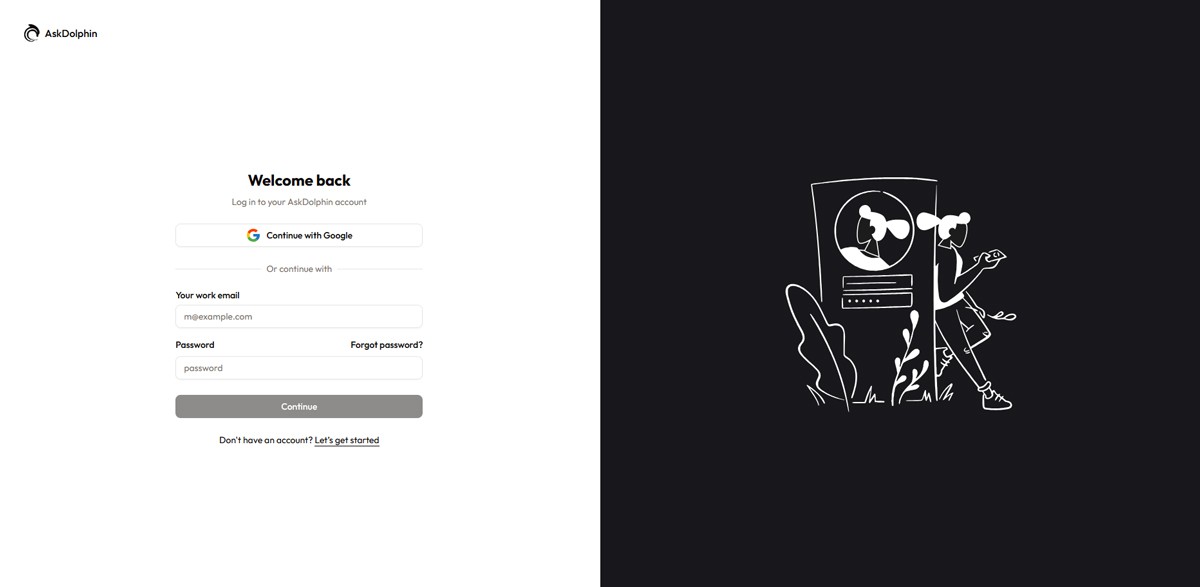
How to Log In to Your AskDolphin Account
Logging in to your AskDolphin account is quick and simple. Visit the login page and enter the email address and password you used during registration. Alternatively, you can choose to log in using your Google account for a seamless experience.
Any other questions? Get in touch